Setting up your Trezor may be difficult for you. This guide will provide help in order to properly set up your hardware wallet.
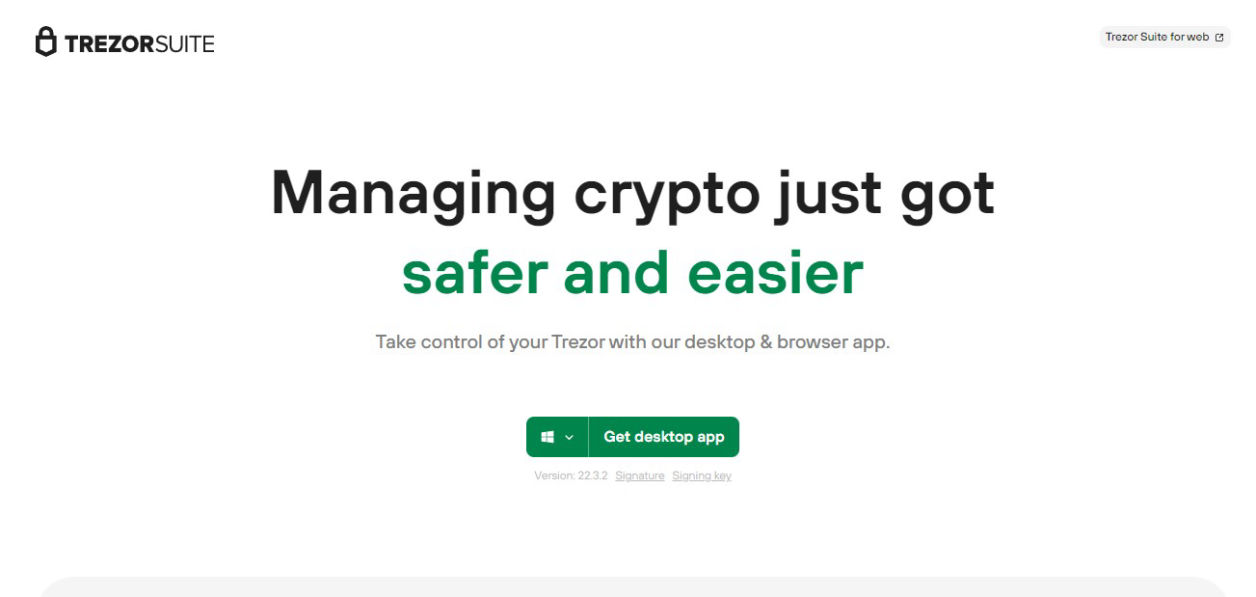
In order to use your Trezor, you must have Trezor Suite installed. You can download it using this link:
https://suite.trezor.io/
by clicking “Get desktop app”. Their website will always provide the latest version.

Note: If you don’t have or see it, please check your Download folders.
Open Trezor Suite and prepare the Trezor Wallet that you bought.

A new Trezor will not have firmware installed. You will have to follow the steps provided by the application to install the latest firmware version.
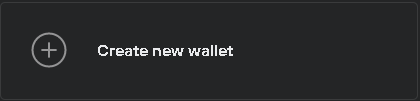
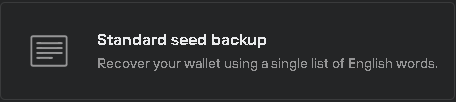
If you have not configured a Trezor before. Choose “Create new wallet” then choose “Standard seed backup” and confirm on your Trezor Device.
After confirming, there should be a “Create backup” button. Make sure to READ the instructions provided then click
“Begin backup”.
Trezor will start showing you your seed phrase one word at a time. MAKE SURE to write it down on the paper
provided by Trezor. The order of the words is important. Losing your seed phrase or not knowing the ordering of the words means losing your account as well as your assets. No
one will be able to provide help to recover this.
Note: Do not type your Trezor seed phrase anywhere. It is only meant to interact with your Trezor and Trezor Suite.
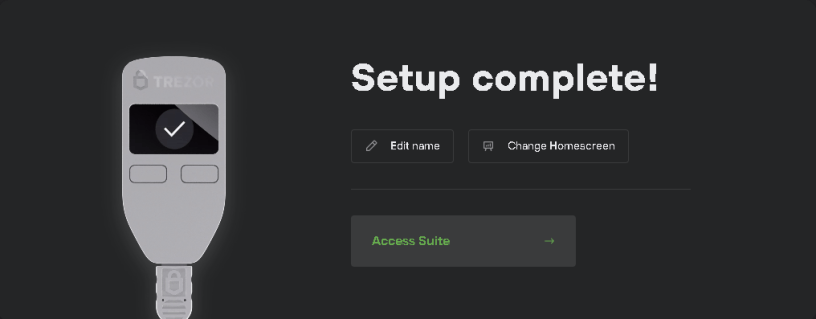
Once you’re done making sure that you have EACH and EVERY word from your seed phrase written down in the same order. You’ll see the “Continue to PIN” button.
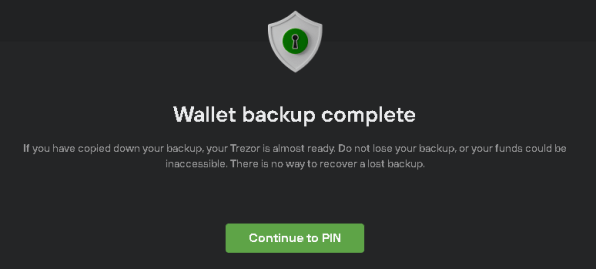
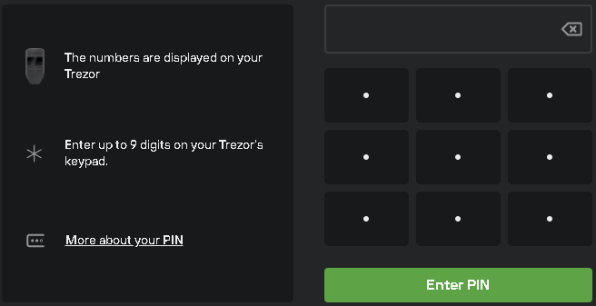
If you see this, you’ve successfully set up your Trezor Wallet. Now “Access Suite”. To access the address that you have in your wallet. Trezor Suite will ask you to enter your PIN in order to access it.
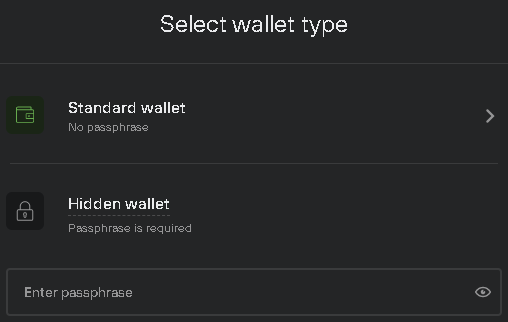
It’s another wallet type but with an added layer of security. By setting a “passphrase”, you’ll be given a different set of addresses visible and accessible only by entering the EXACT SAME (case-sensitive) passphrase. Forgetting your passphrase will result in LOST of assets/funds.
To connect your Trezor device to your Ronin Wallet Extension follow these steps:
1. Open your Ronin Wallet and make sure your Trezor device is
connected to your device. If you have a pin configured, please enter it to unlock your Trezor.
2. Click the “Profile” icon (see image below).
3. Choose “Connect Hardware Wallet”. It should open up a new tab.
4. On the new tab,
click “Connect Wallet”. It should open another tab.
5. Click on “+ Pair devices”. A new tab will open again and click “Check for Devices”.
6. Wait for it
to scan your Trezor Device.
7. Click “Allow once for this session” and “Export”.
Note: The passphrase prompt below requires the same passphrase entered for a hidden wallet. If you did not configure a hidden wallet then leave the passphrase field blank
and press the "Enter" button.
8. This part depends on whether you entered a passphrase or not. If you’re using a Standard Wallet (no passphrase) then just click “Enter”. If you
are using a hidden wallet (passphrase), then provide your passphrase on the input fields and click “Enter”.
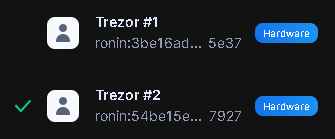
9. It should show you a list of addresses. Click the
address you need to import to your Ronin wallet then press “Continue”. It should now be on your list of addresses on your Ronin extension. If you are connecting a new Trezor
you can select the first address.
Note: With or without a passphrase, you’d still get 1000 wallet addresses.
Related News: